Nychair X Assembly Tips
Nychair X Assembly Tips
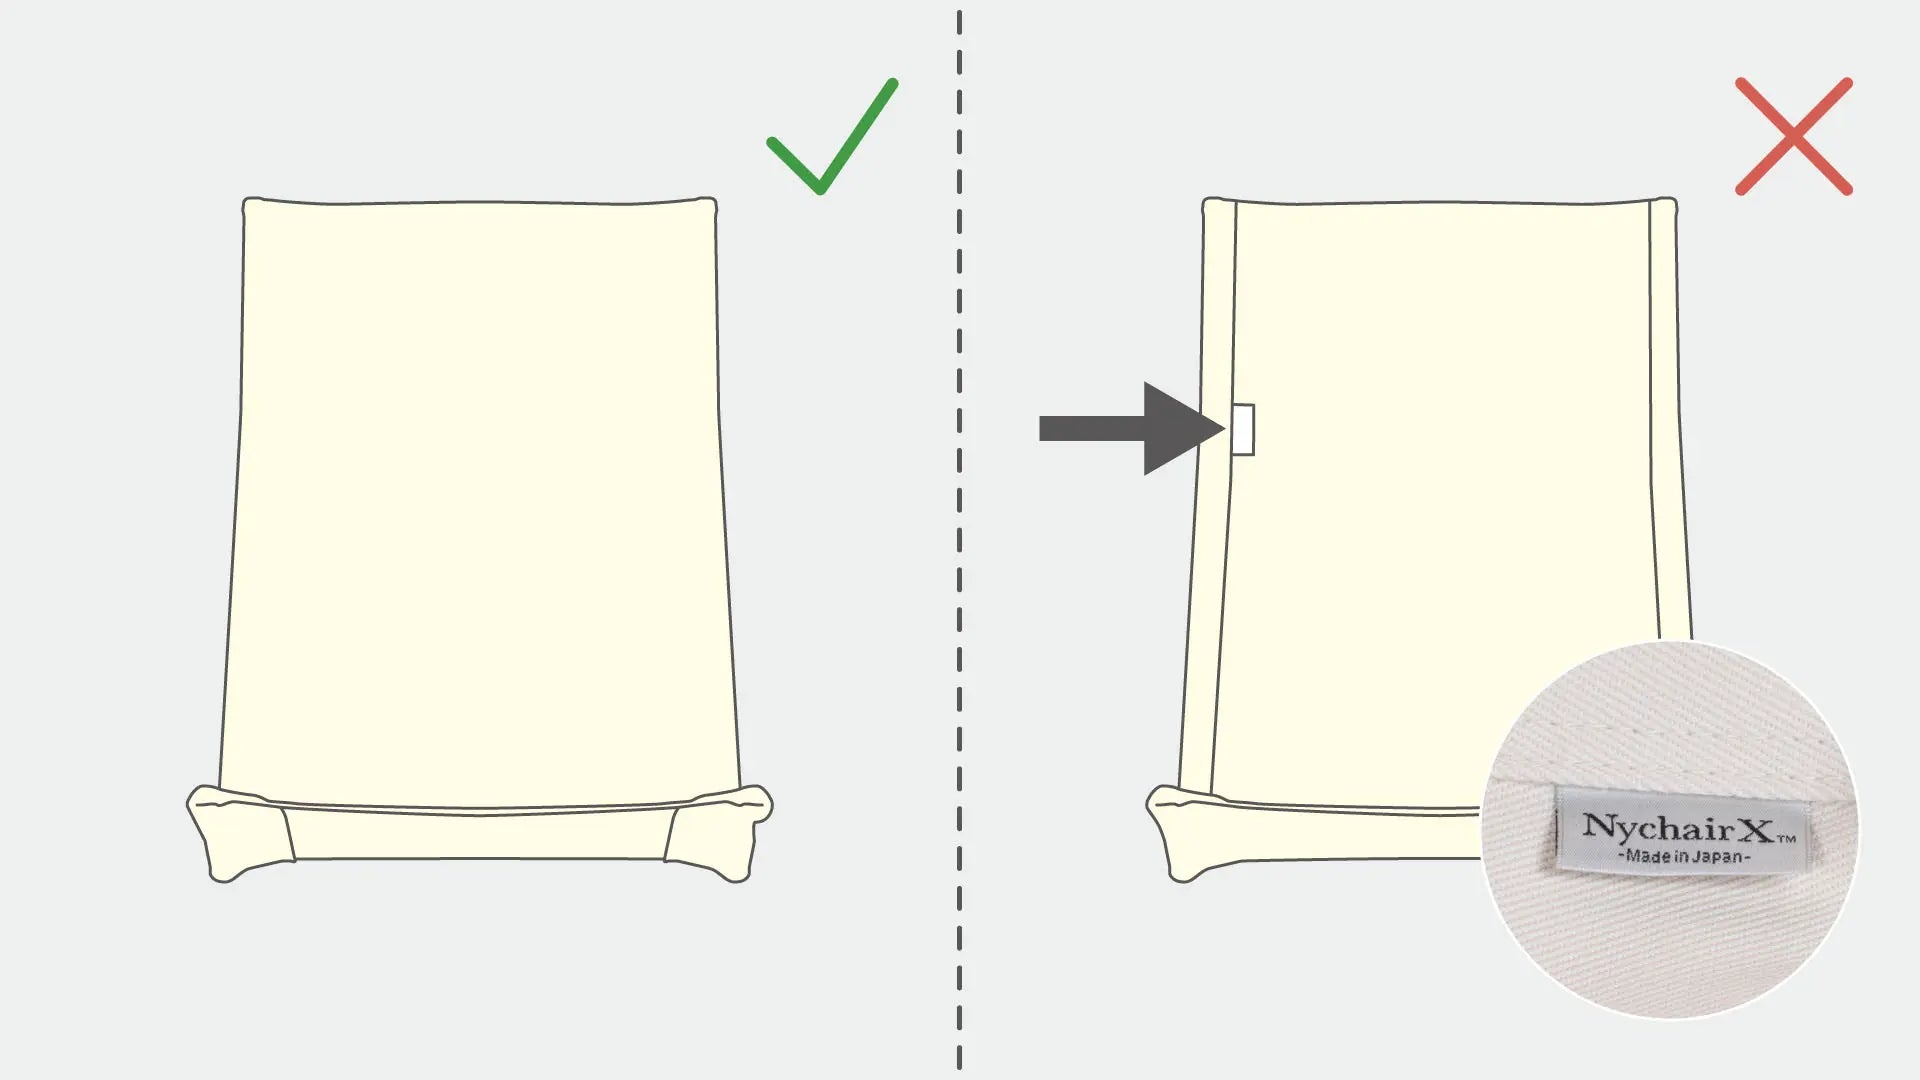
Preparation
Before assembly, please check if the tag is on the outer side.
 Click here if the seat is upside down
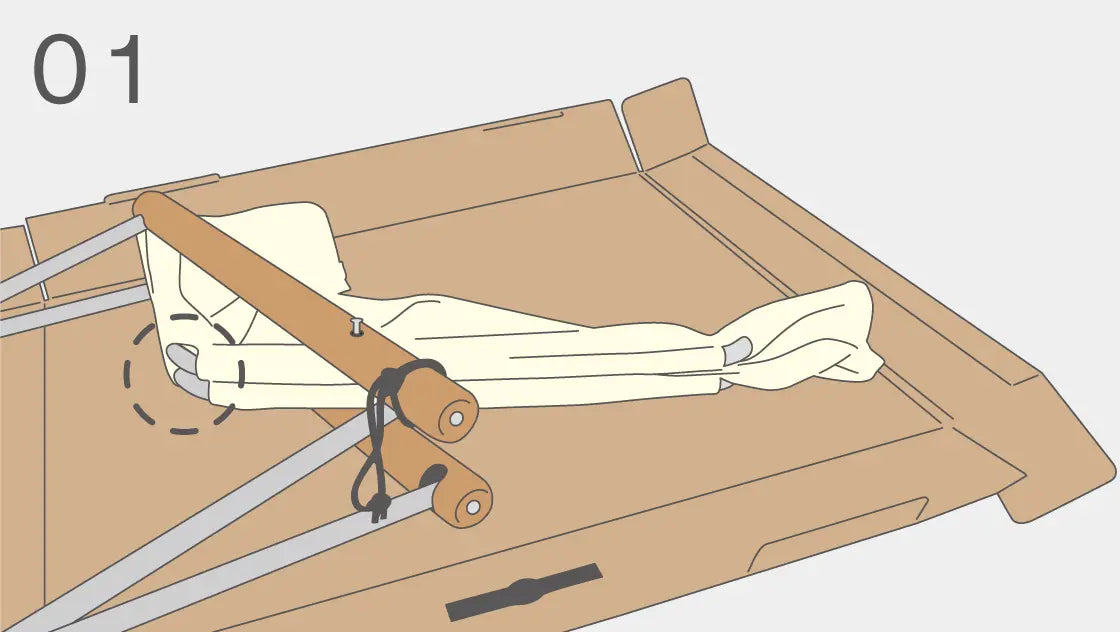
Align the seat pipes
If you alight and stack the seat pipes before proceeding to the next step, they will be less prone to changing their position and it will be easier to insert the screws.
Use a rug under the chair to prevent scratches on the floor. The cardboard packaging can also be used.
Fasten temporarily
Lightly fasten the screws by hand so they do not change their position later. You do not have to tighten them all the way.
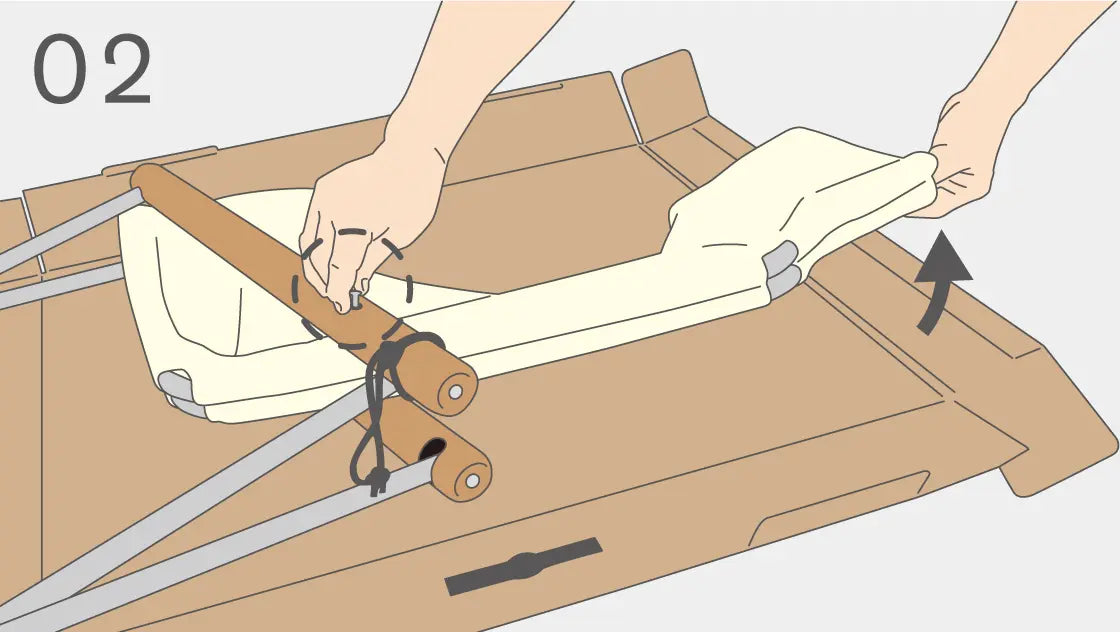
Adjusting the pipe up and down while supporting the seat pipe with your hand will make it easier to tighten the screws.
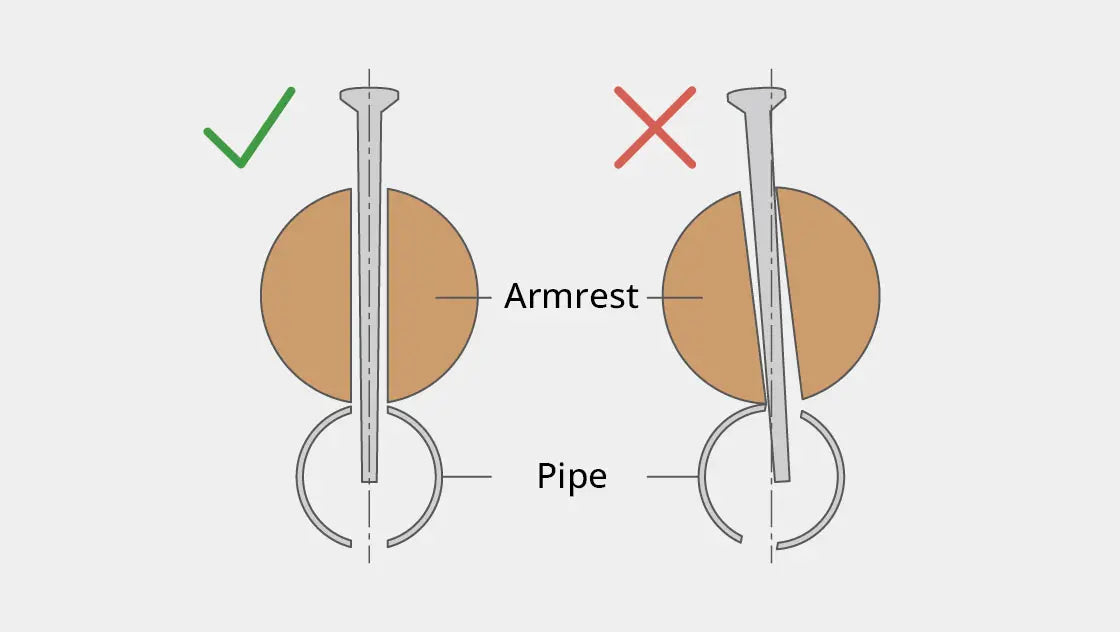
Adjust the armrest's and pipe's screw holes, so they are aligned straight before temporarily fastening them.
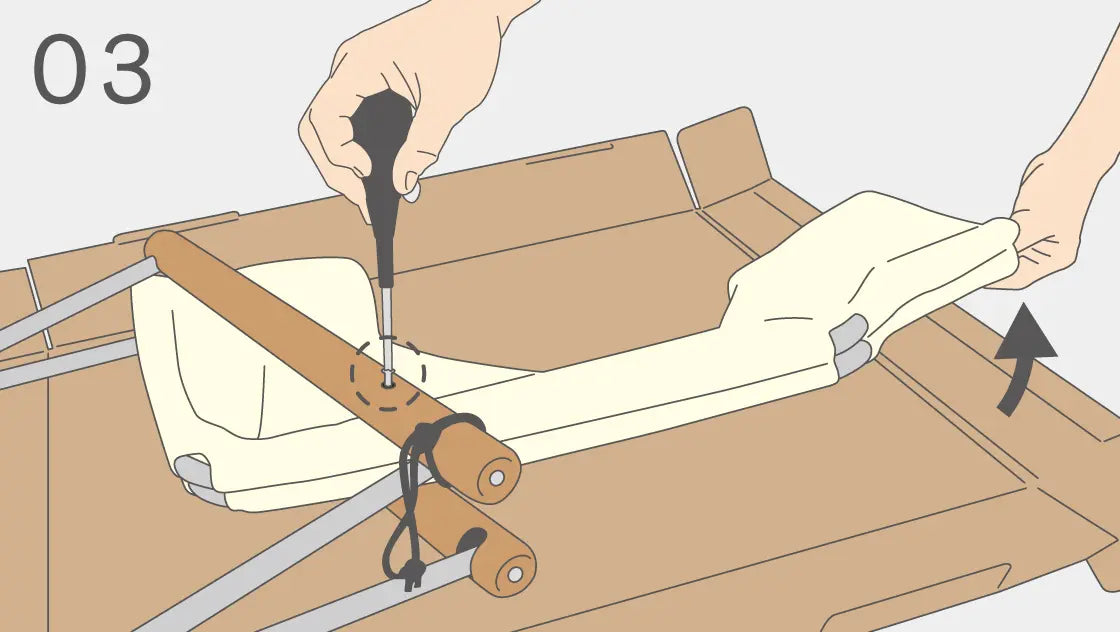
Tighten the screws
Apply light force and tighten the screws with a Philips screwdriver. By gradually tightening the four screws you might achieve the best results and equally balanced chair.

A size 2-3 screwdriver is recommended. A smaller screwdriver might be difficult to use and insufficient to apply sufficient force with.
Open the chair and tighten the screws
As a last step, put the chair in an upright position and open it. Tighten the screws until there is no gap visible between the seat pipes and the armrests, and it is finished.
CAUTION
When the screw does not go in smoothly
There is a possibility that during tightening, screw holes in armrests and pipes are not straight and misaligned. If the screw is tightened at an angle, the thread on the screw can be irreversibly damaged, preventing it from being tightened again. Therefore, it is important to check if the holes are aligned.
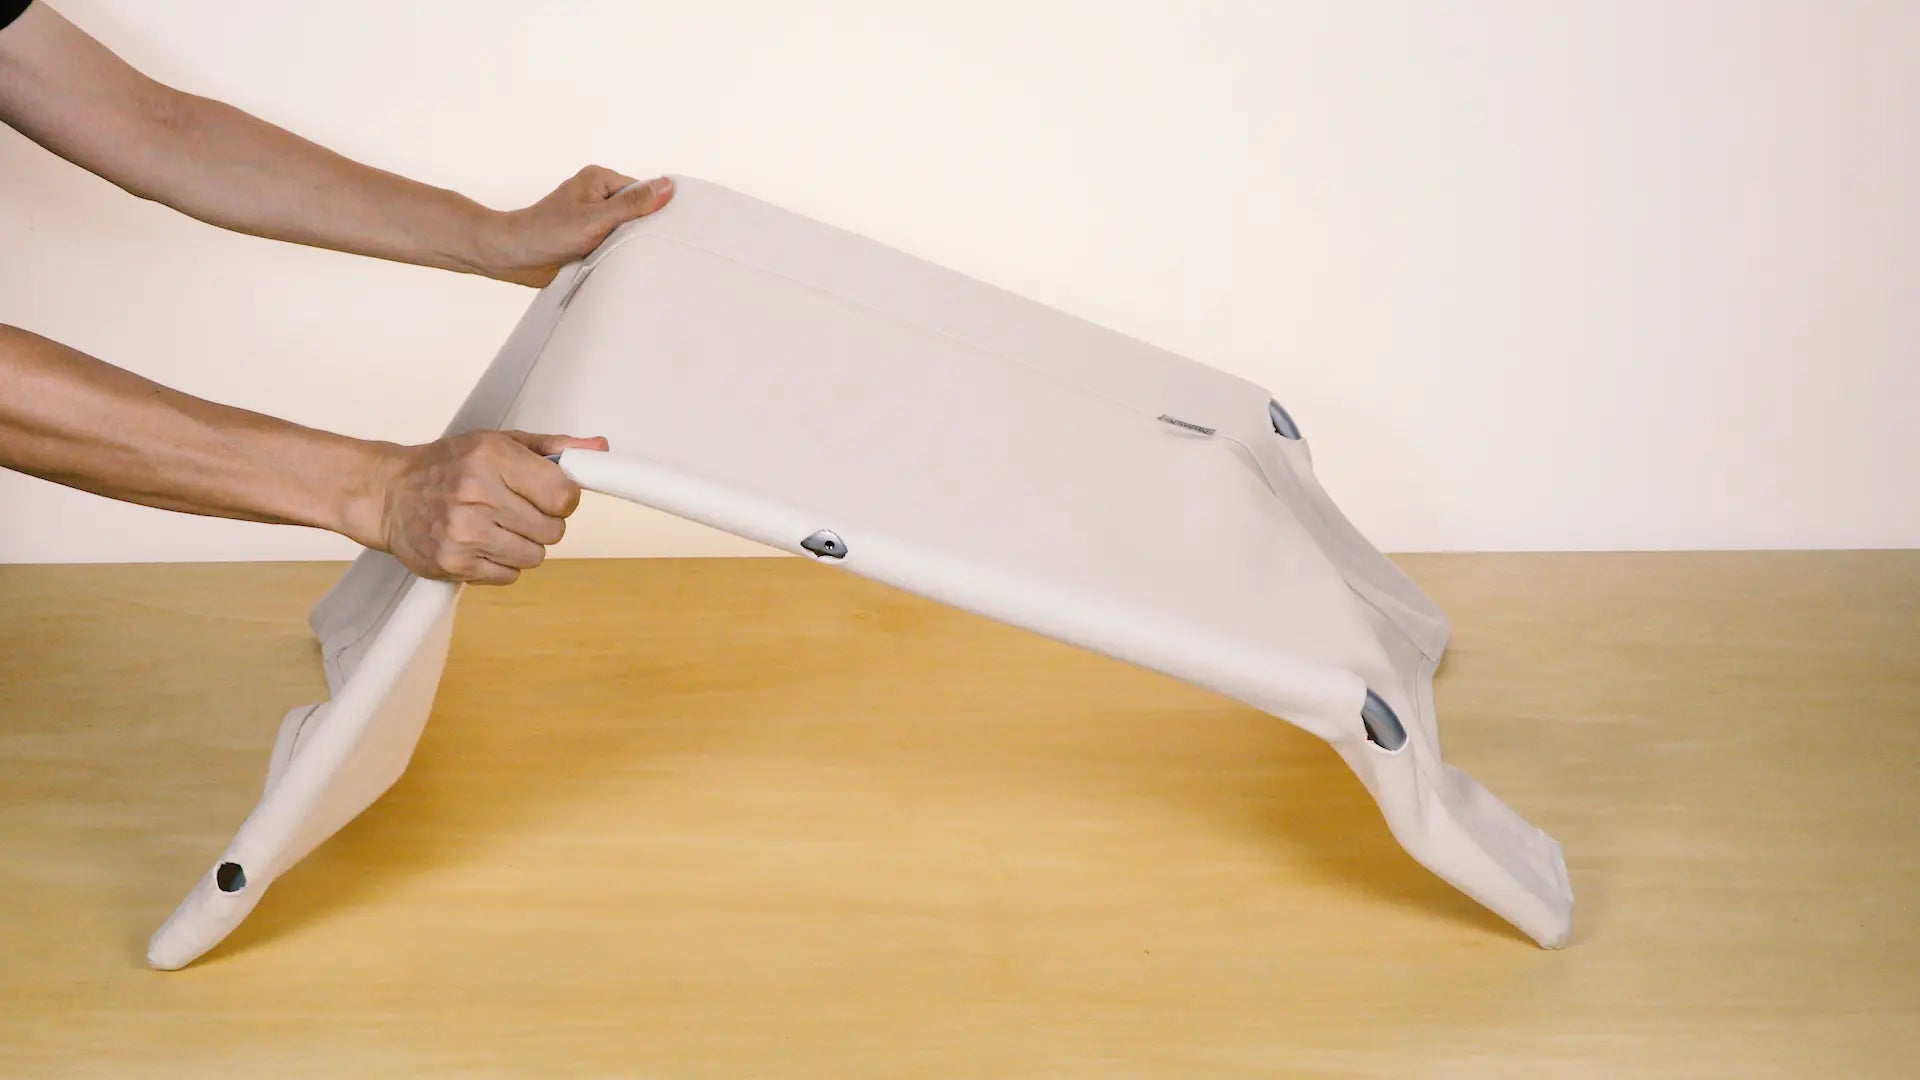
Correcting a reversed seat
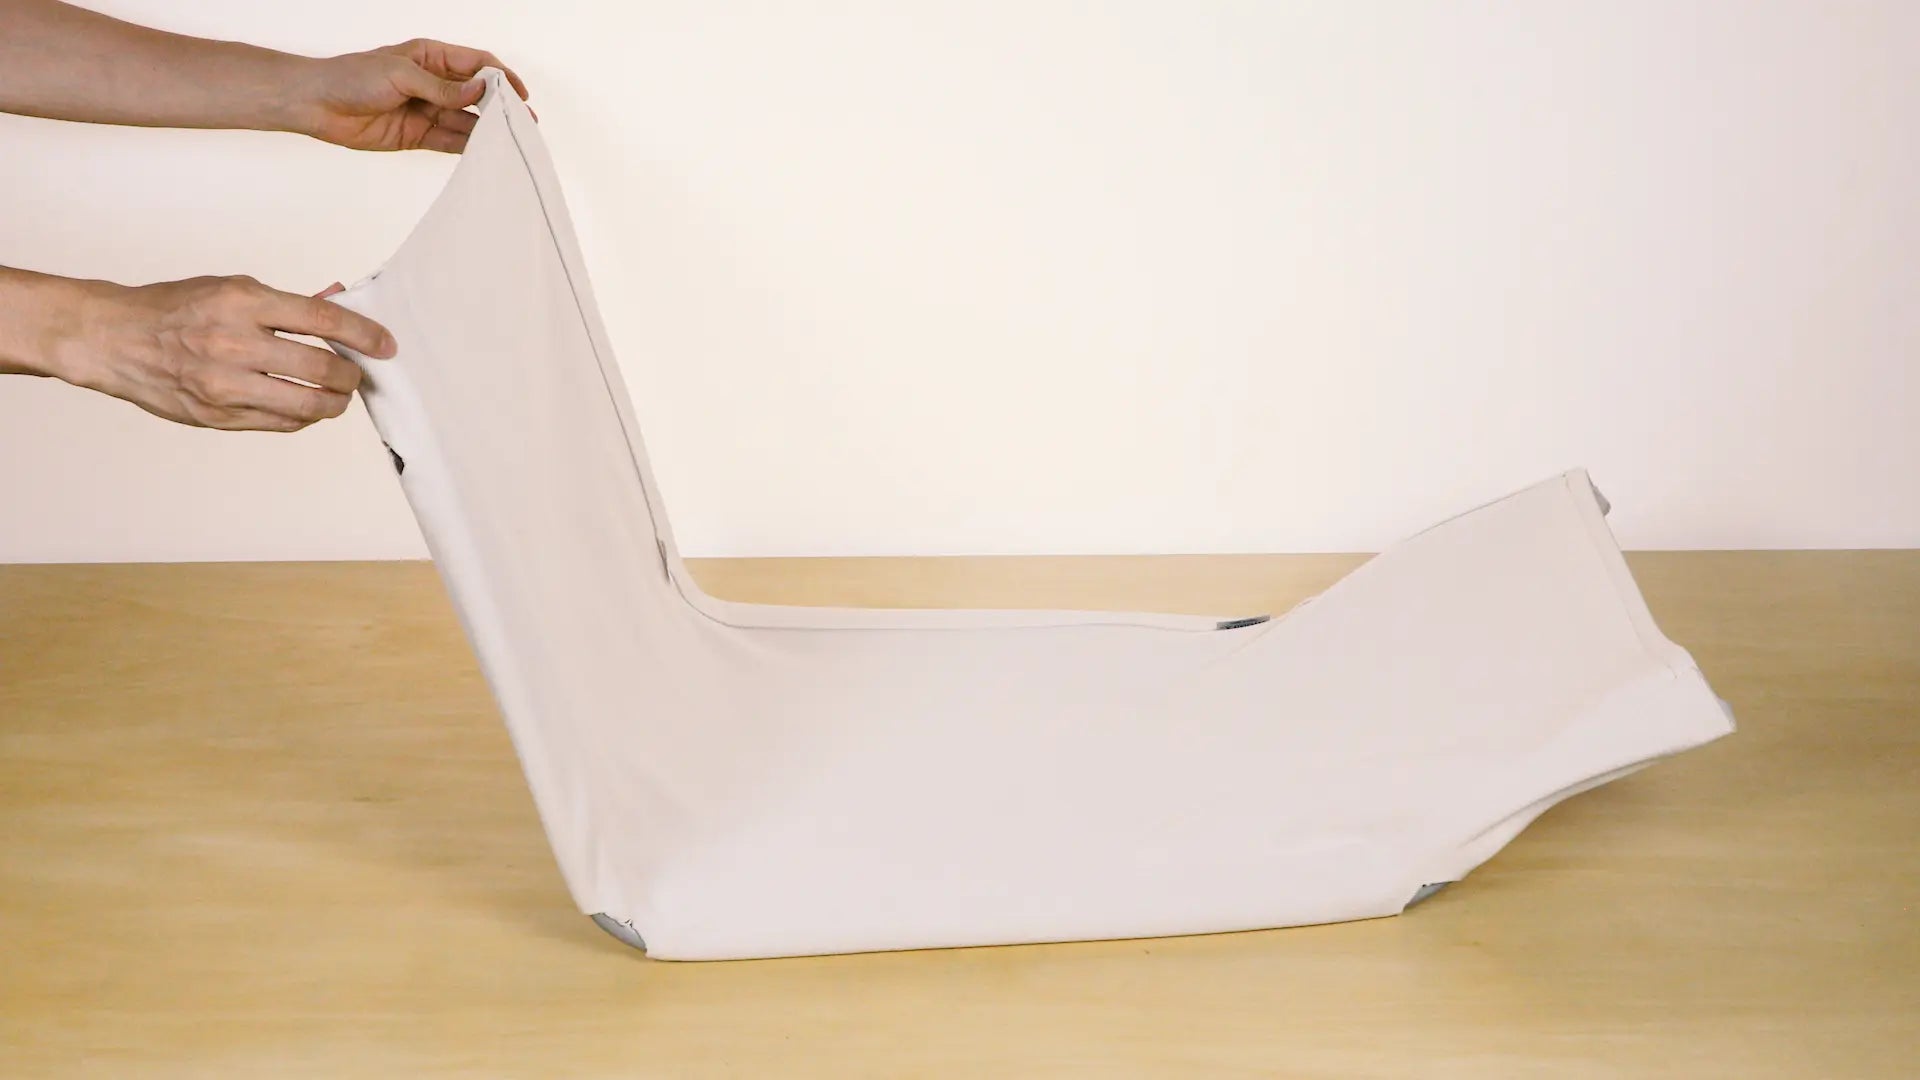
Hold the ends of the seat pipes.
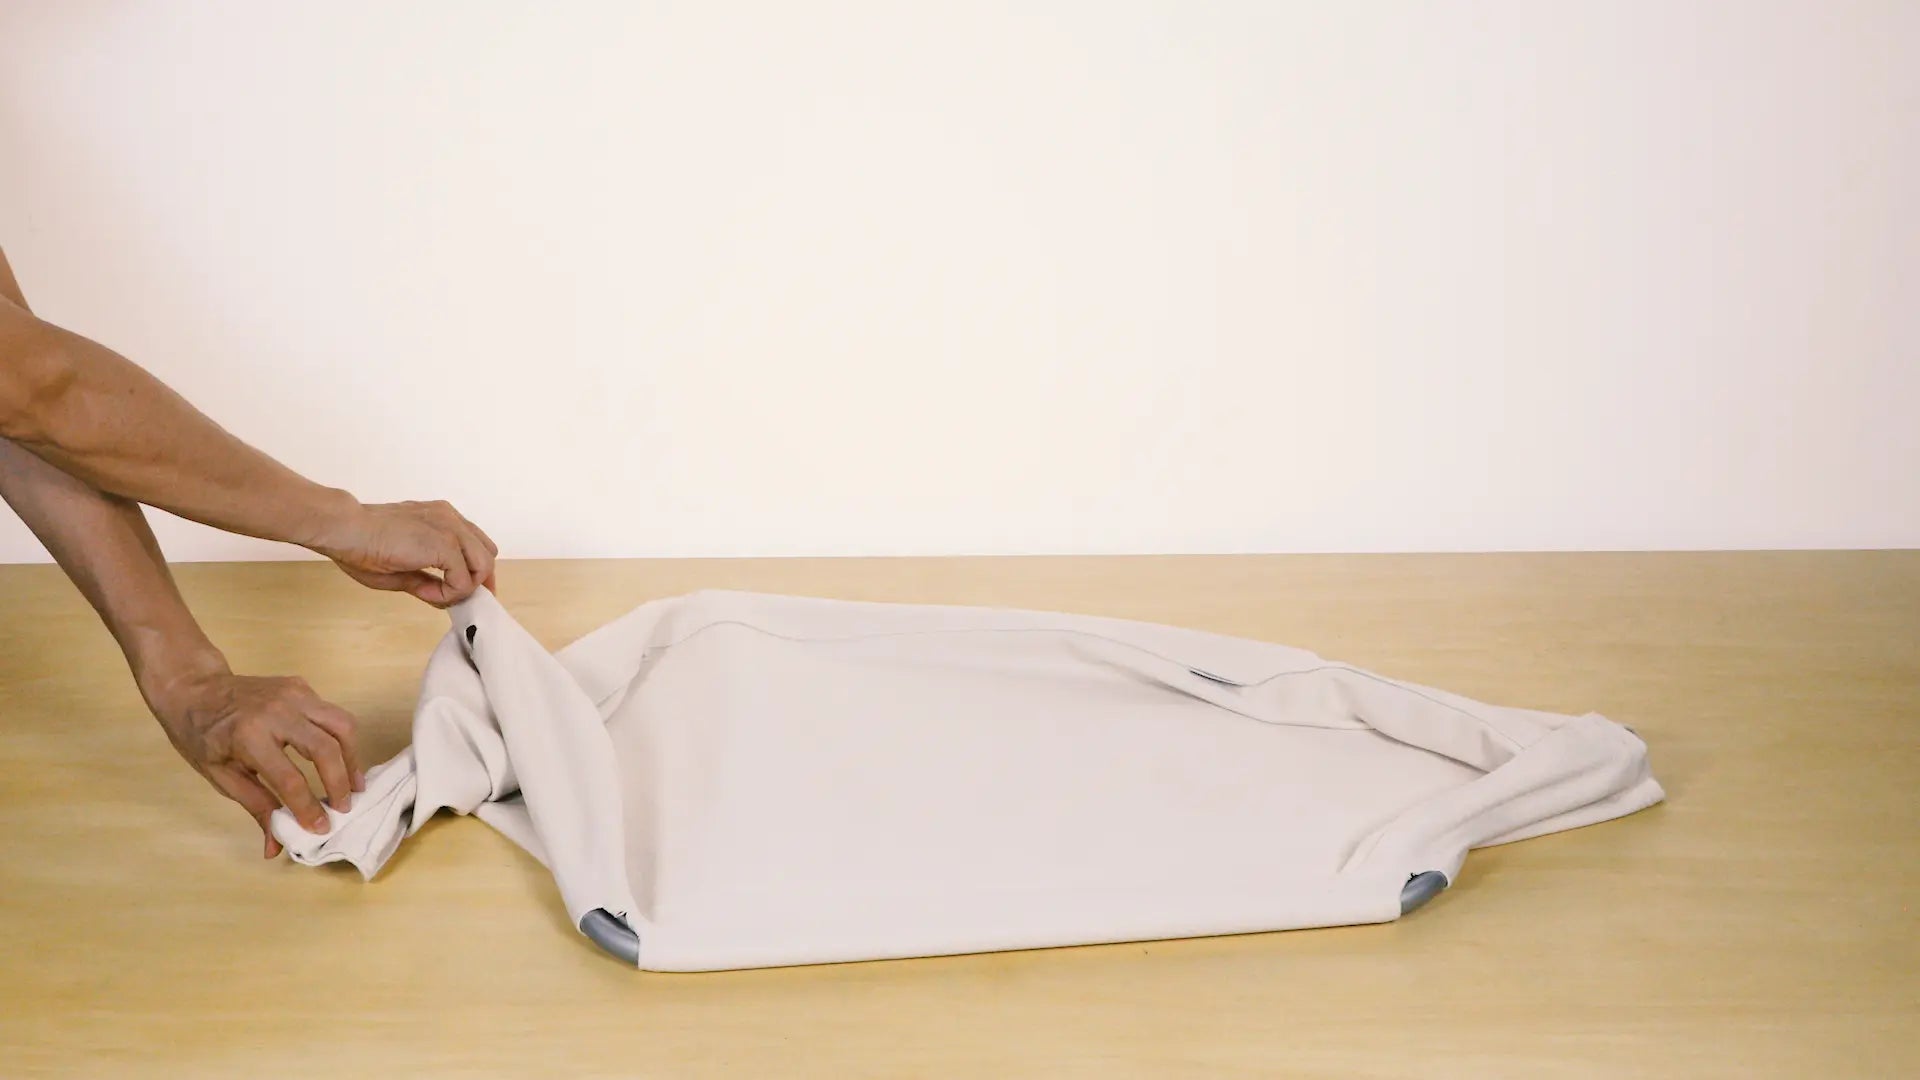
Collapse the pipes inwards.
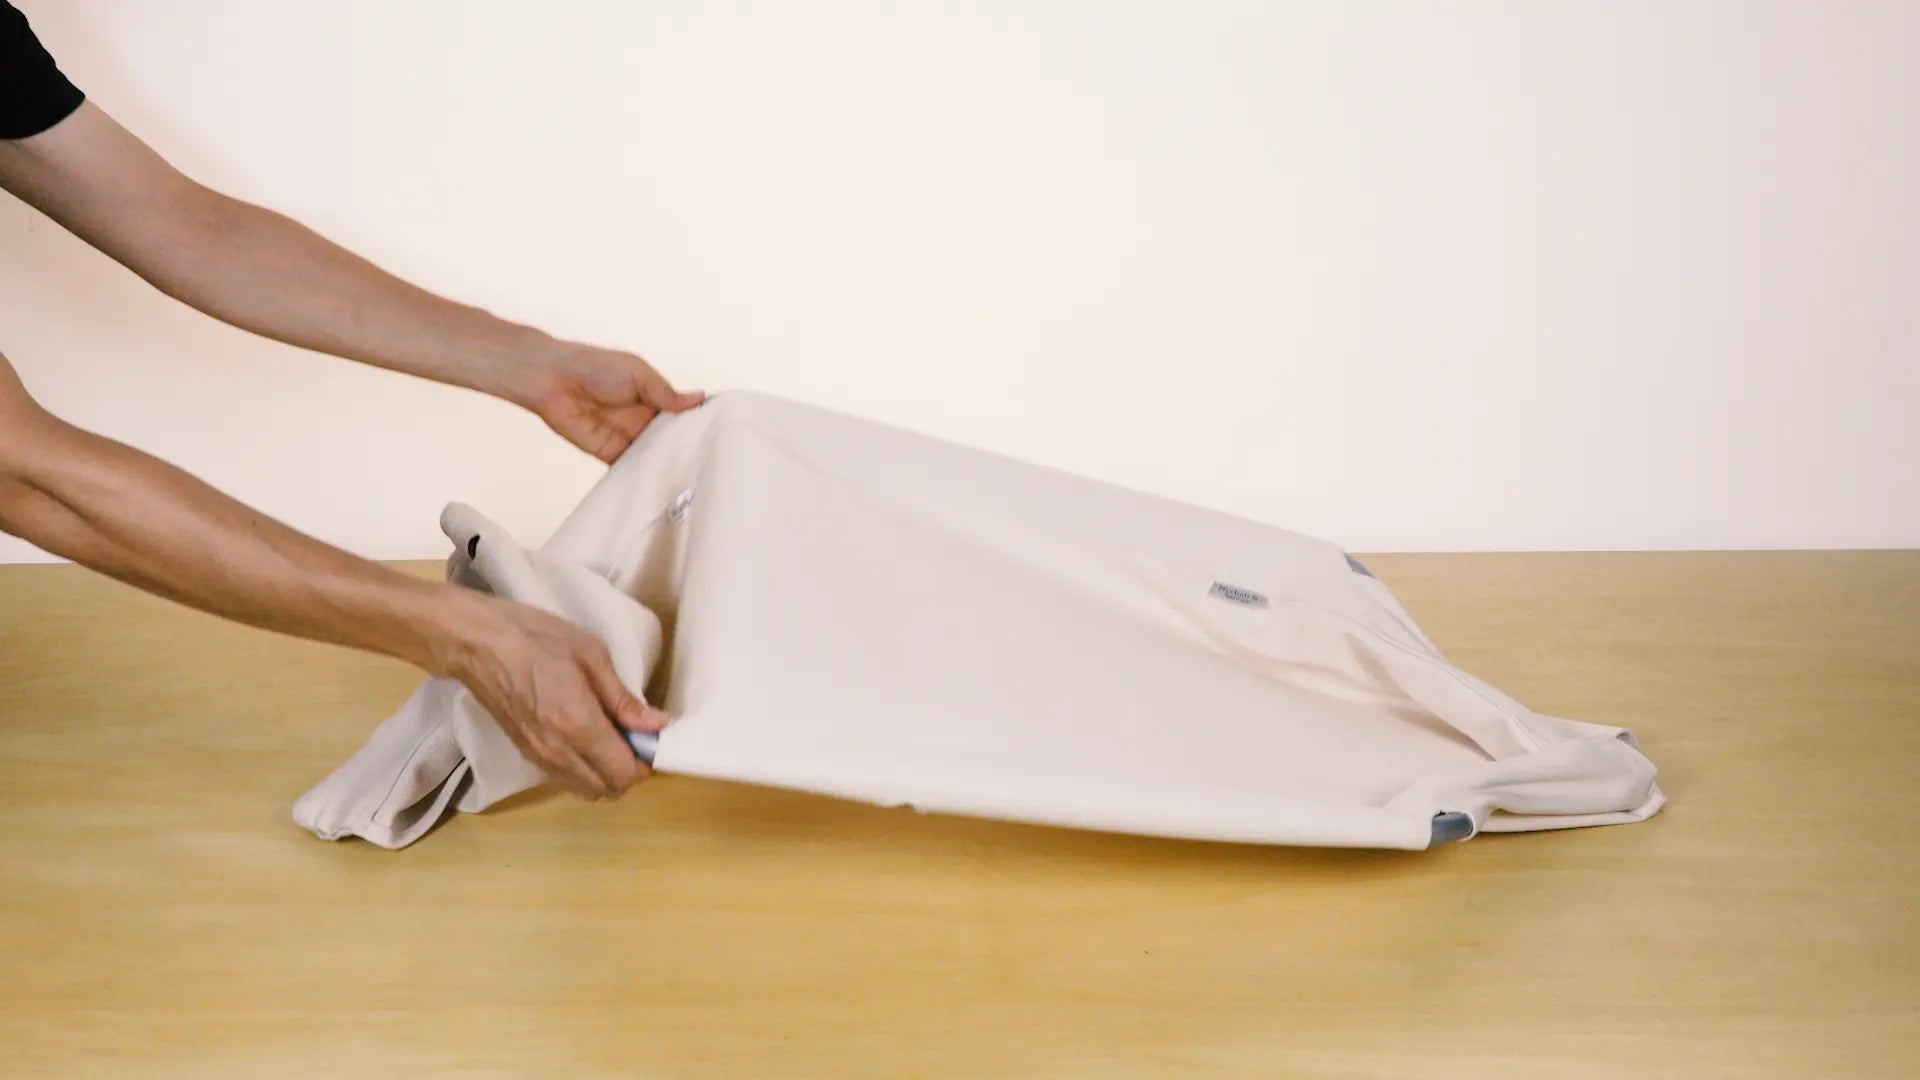
Grab the pipes at the bend at the lower end of the backrest.
Lift.
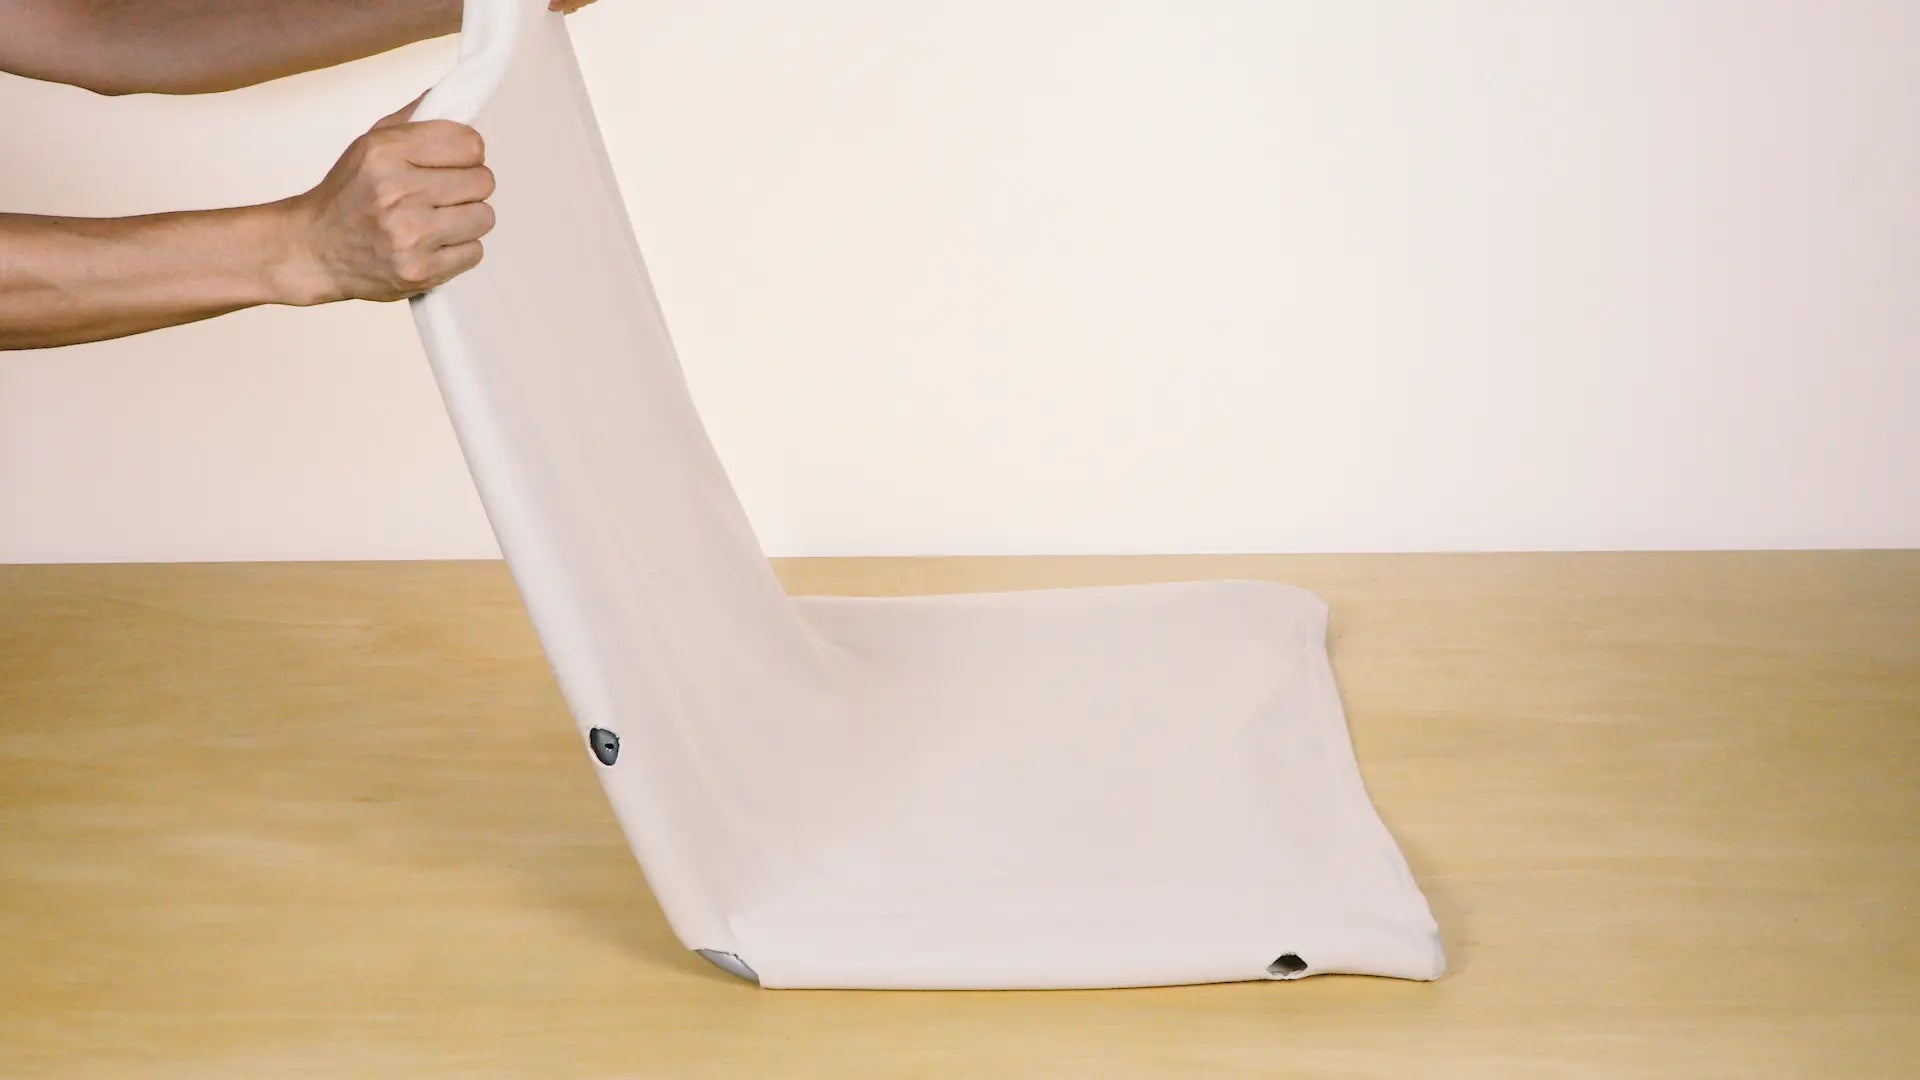
Make sure the seat is in correct position before assembly.